Pop-Art poster tutorial
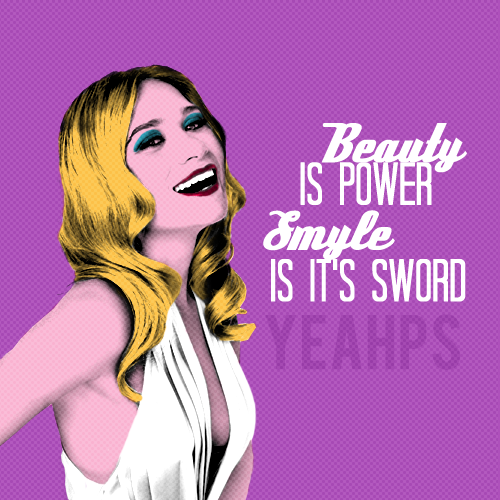
On this tutorial I will show you how to make the famous Andy Warhol Pop-Art posters, You gonna have fun while doing this.
So when picking the picture, I recommend you to choose a simple picture, not with loads of hair so It come out easier for you and also white the white Background, but that’s just a recommendation (:
I got my picture from this Gallery.
Now let’s get to work!
1) Create a new file with the background contents set to “white”

2) Open your picture and drag it to our canvas.

3) go to Image>Mode>Grayscale

and select “Don’t flatten”
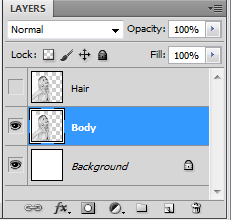
4) Duplicate your picture (Right click>Duplicate image) and we are going to name one “Hair” and the other one “body”

5) Now make the “hair” layer invisible and select the “body” layer
go to image>adjustment>levels

6) Adjust the levels until you get the desired effect.
This were my settings:


7) Make the “hair” layer visible again and select it

then once again go to Image>adjustment> Levels and adjust the layer to your like-
My settings were:


8) With the “hair” layer selected, grab the eraser tool (E) and start deleting the part covering the body:

9) Let’s get back to image>mode>RGB color

and select “don’t flatten”
10) So to color our image I created this color palette:

here are another 8 color palettes made by us, based on the originals Andy Warhol’s Pop-Art posters.
11) So let’s get to paint.
Create a new layer by clicking this icon:
at the bottom of your layers palette.
and change the blending mode to “Multiply “

and change the name of “Layer 1” to BG.
12) With the eyedropper tool (I), Take a sample of the first color (Purple-ish one) and then fill the picture with the paint bucket tool (G), This one will be our Background:

13) Create a new layer and Name it “hair” Once again set the blending mode to “Multiply” & make the BG layer invisible.

14) Go back to our color palette and whit the eyedropper tool (I) take a sample of the Yellowish color, that’s the one we will be using for our hair.
Done that, you have to select a rough brush and start painting over the hair.

Take your time, No rush, don’t worry if you make any mistake you can click Shitf+CRTL+z to undo it (:

15) Now once again create a new layer, name it “body” and set it to multiple & make the “hair” layer invisible.

16) Once again with the eyedropper tool take a sample of the pinkish tone & with the brush start painting.

Then go back and erase the part that is covering her teeth

17) Now, Create a new layer name it “lips”, change the blending mode to “multiply”, with the eyedropper tool select the red color and with a brush, start painting her lips.

18) and I think by now you know what to do, let’s create a new layer name it “eyes” and paint her eye shadow with the blueish tone.

19) Make the “BG” layer visible once again


20) Then grab the eraser and erase the part that is covering our picture

Tidak ada komentar:
Posting Komentar